How to install CorkWall tiles
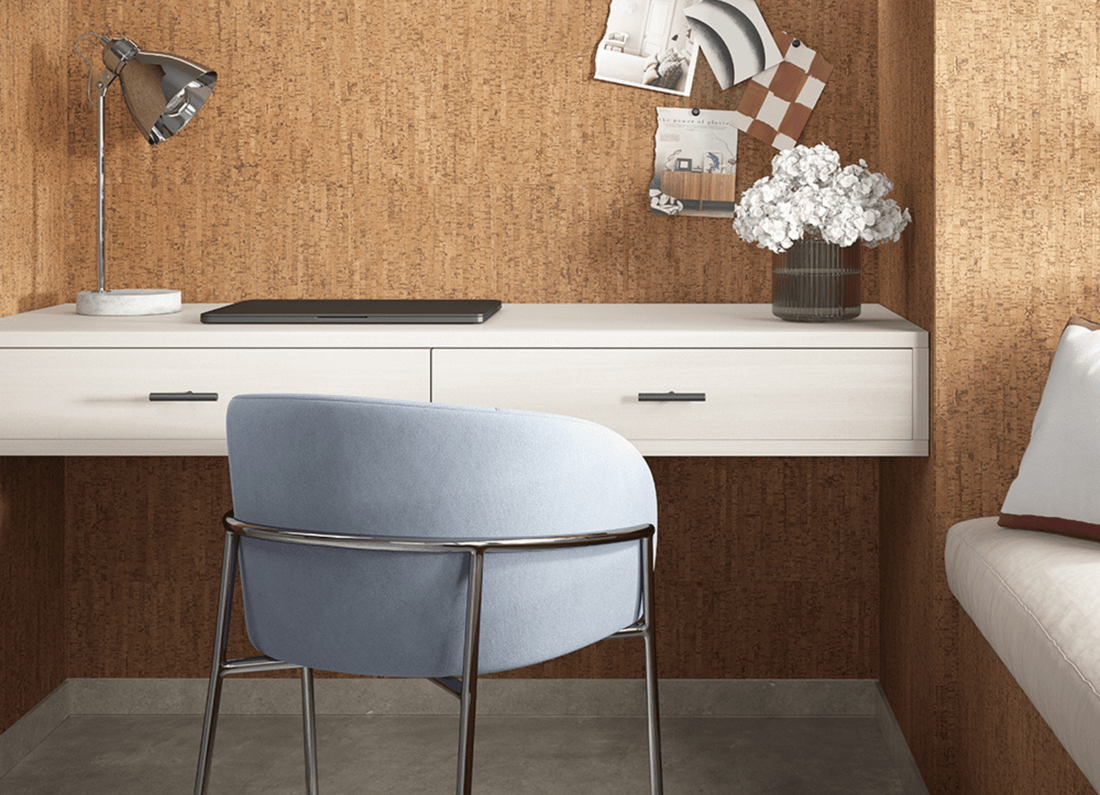
CorkWall tiles are the latest addition to Naturewall’s ever expanding product collection. Each tile is completely unique to the next but designed to offer organic patterns and tones to the interior of your choice. Whether you choose the white marble-effect of Lagos White or the natural and linear structures of Porto Beige, CorkWall can instantly upgrade your home giving a high-end look. Made from the regenerative bark of Portuguese trees, cork is a sustainable material to help you create contemporary walls without harming the environment.
Installing CorkWall tiles is simple using Contact Spray Adhesive and a J-Roller. You can apply directly to a clean and smooth surface and customise the layout to showcase your personality. These tiles are ideal for residential and commercial application, suitable to decorate any room and match a variety of styles.
Where do I start?
Before purchasing your tile packs, measure your space to ensure the correct amount are ordered. Each pack of CorkWall tiles has a coverage of 1.98m². Divide the total square meterage of your wall, by 1.98 to calculate how many packs you need. Round up this number to ensure you have enough to cover the space.
Check out the full CorkWall range to find your perfect match. If you are unsure on the pattern or colour, try a sample first to test against your furniture, lighting and other décor.
When your purchase has been made, we endeavour to dispatch next working day to ensure your parcel arrives within 3 to 5 working days (this time may differ based on your delivery location). In the mean-time, you can get prepared to start the installation but obtaining all the tools you may need.

What will I need?
- CorkWall tiles
- Contact Spray Adhesive (you will need two cans of 450ml for one pack)
- PPE (mask, gloves, goggles)
- Spirit level
- J-Roller
- Utility knife
- Pencil
- Ruler
Naturewall Recommends: You may require masking tape and something to cover your surroundings to keep your room clean during the installation. We recommend using old newspapers or use the scrap cardboard packaging from your tiles before recycling. If you need to cut the tiles, make sure the surface below will not be damaged by using a cutting mat.
You can purchase Contact Spray Adhesive and a J-Roller alongside your tiles so you are ready to go.
Getting prepared to install cork tiles
Acclimatising and wall preparation
Once your CorkWall has arrived, open the packaging and allow 48 hours for the tiles to acclimatise to the room prior to installation. It is likely that the materials with naturally expand slightly and contract depending on the temperature.
Prepare your wall or chosen surface by ensuring it is clean and smooth. You can then use a pencil and ruler to decide on the tile layout.
Protect your surrounding walls, furniture and flooring with old newspapers and dust rags. Once your tiles have acclimatised, mix up the pack for a more natural blend of shades.
Naturewall Recommends: An offset brick bond layout is the most traditional yet simplest design to follow with the tiles to allow for a seamless approach. Using a spirit level, you can get a straight line for a linear structure. Alternatively, place the tiles vertically or get creative with cutting and layering for other popular herringbone, chevron or basket weave patterns.
How to cut cork tiles
Using a tape measure and pencil, measure and mark where you wish to cut. Place the tile on a cutting mat or flat surface that will not be damaged and align your ruler, ready to cut. Using a metal safety ruler will allow you to protect your fingers whilst keeping your utility knife steady for straight lines. You may need to repeat the cut to ensure it is clean and complete.

Installing CorkWall Tiles
All prepared and ready to install? Time to get your PPE on and transform your wall!
Step one – Spraying the adhesive
At a distance of 15cm, spray an even layer of Contact Spray Adhesive to the whole surface area and allow it to dry for approximately 5 minutes. Place your cork tiles on a flat covered surface and apply an even layer of the Contact Spray Adhesive to the back of your tiles, paying particular attention to the corners and edges. Again, allow approximately 5 minutes for the adhesive to become dry to touch.
Naturewall Recommends: Make sure to ventilate the room when using Contact Spray Adhesive by opening windows and make sure to wear appropriate PPE.
Step two – Placing the tiles on your wall
When the adhesive on both surfaces combine, they will instantly adhere. You can press with your hands to place the tile on the wall, then use a J-Roller to ensure it is attached firmly.
Step three – Build out your chosen design
Repeat this process to place your tiles in your chosen alignment, building out your design row by row. We usually recommend starting in the centre of your wall and working outwards. If needed, before using a J-Roller, gently remove the tile and reposition until you a happy with the placement.
Step four – Making sure the tiles are fully fixed to your wall
When you are happy with the full layout and all your CorkWall tiles have been positioned, use a J-Roller over the whole area to ensure each tile is fully bonded to the wall.

How to care for and maintain your CorkWall tiles
CorkWall tiles are designed to be long lasting with the high-strength adhesion. To keep them looking their best, we recommend using a soft and damp cloth to wipe away dust and dirt. Don’t use abrasive cleaners or chemicals as this may cause irritation to the materials.
The neutral and natural texture of CorkWall is ideal for a variety of design styles so you can adapt your furniture as your personal style changes without the need to change your cork tiles. However, if you wish to remove a tile, simply use a scraper tool and finish by sanding the wall area to remove excess adhesive residue.