Transform Your Office Wall Décor with a Cork Pinboard
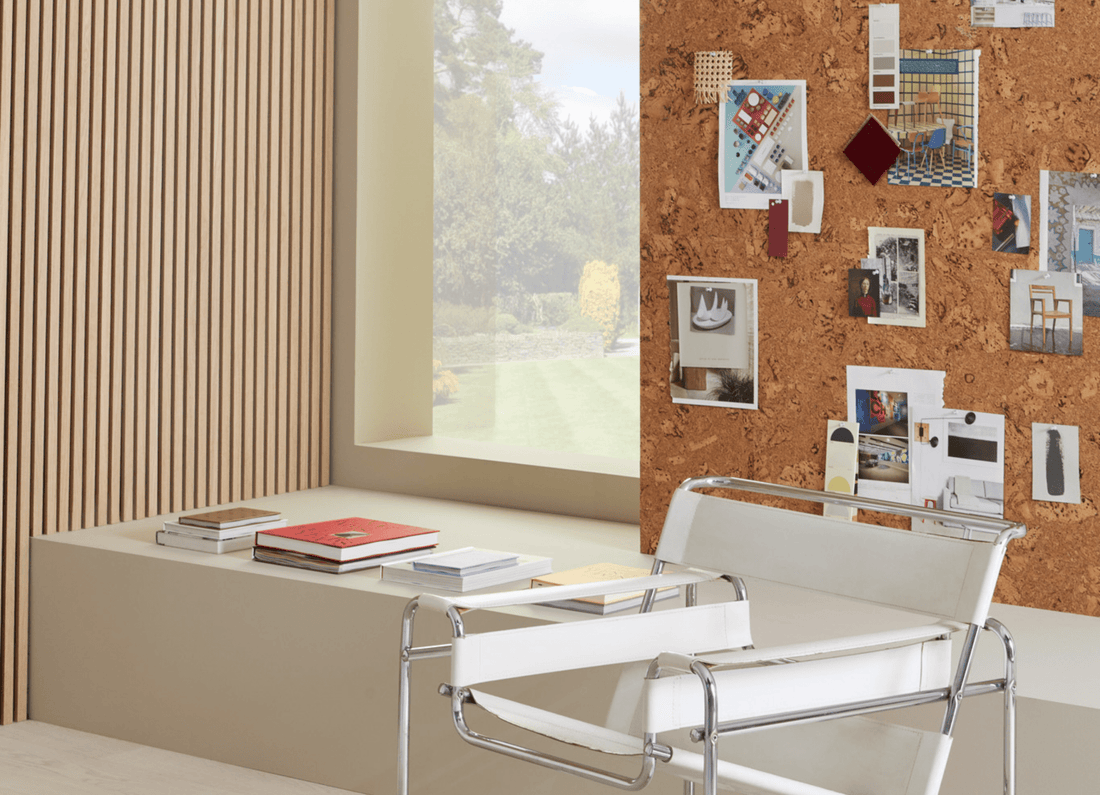
Behind every great idea is a great place where inspiration strikes. But how do you create a space that nurtures thought? There's a simple solution: turning blank walls into dynamic surfaces by using cork tiles to make a pinboard.
Whether preparing for back-to-school season, adding a personal touch to a university dorm room or revamping a home office, installing a cork board is a simple way of making your wall décor picturesque and practical. It will help you create a homework-ready study or WFH area that stimulates creativity, encourages productivity and motivates ticking off items on to-do lists.

Using cork wall tiles for a pinboard also lets you add a personal touch to workspaces, as you can pin up photos, artwork or quotes, ensuring you always have something beautiful to look at when taking a break from screen time. You can also use your cork board to gather inspiration, refine concepts and finalise ideas when developing projects.
Alongside making your wall work harder when used this way, CorkWall tiles will turn it into a tactile surface brimming with natural character. As our Interior Designer Olivia says, 'CorkWall is a great option for anchoring a creative space by adding interest through texture. You can use the tiles as a pinboard for gathering ideas and inspiration before bringing your next vision to life.' The tiles add texture, pattern and a bespoke finish while letting the other design elements in the room shine. So, whether you’re a minimalist who likes a clear space for a clear mind or a maximalist who prefers to be surrounded by lots of books and objects to always have inspiration at your fingertips, a cork pinboard will complement your scheme.
For an easy DIY project, follow the steps below to bring your office wall décor to life with a pinboard made from CorkWall tiles.

How to use cork wall tiles for a pinboard
Please note, we recommend installing CorkWall tiles onto plasterboard to make a pinboard. For more information on installing CorkWall, please read our fitting guide.
Step One
Place your CorkWall tile packs in your installation room and allow them to acclimatise for 48 hours.
Step Two
Once acclimatised, mix up the tiles – this will help you achieve a more aesthetic blend of colour and pattern – and decide on your layout. For a natural look, we recommend arranging them in a brick formation.
Step Three
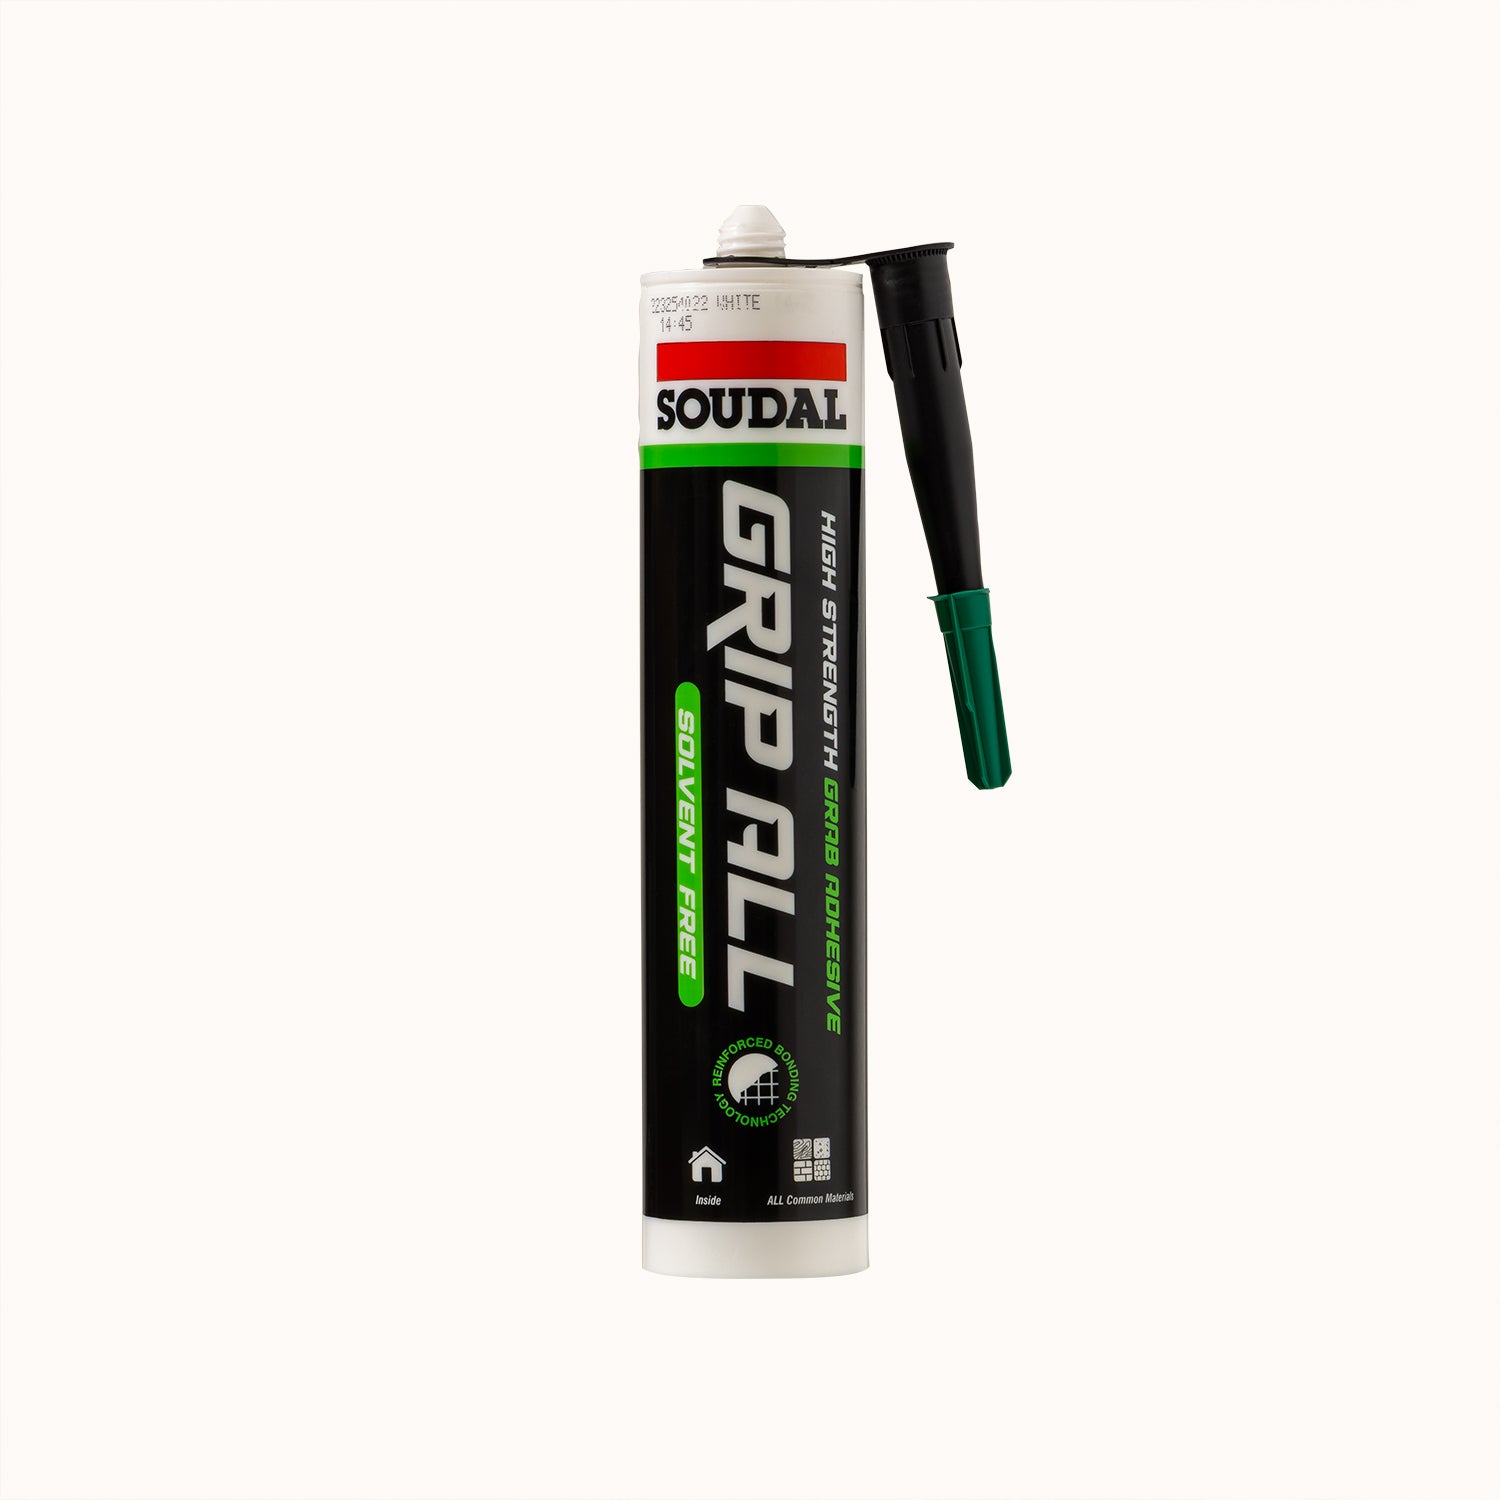
Apply an even layer of Contact Spray Adhesive to your installation wall and to the back of your tiles. Leave to dry for approximately five minutes.
Step Four
Place your first tile on the wall and press it to secure. Use a J-Roller to apply firm pressure across the tile.
Step Five
Repeat for each tile until your CorkWall pinboard is complete.
Installing a cork pinboard in your workspace? Bring your vision to life and tag us along the way @naturewalluk and use #MyNaturewall for the chance to be featured.

